I decided this year he deserved a better system to trigger his ignitors. So I built him this:

This ignition system has 24 channels or "queues", an internal power supply, and it looks pretty sweet too.
My parts for this build were pretty simple:
- 1/4" MDF (get 1/8", or use Paneling...the 1/4" MDF has an issue, see below)
- 24 momentary contact push-buttons
- 48 LEDs (24 green, 24 red)
- Key switch
- SPDT switch (with the red switch cover)
- 12 speaker terminals (each terminal has hookups for 2 ignitors, using 4 terminals)
- 12v LED strip from auto-parts store
- 12v battery
- Pretty case
First off I started with a blank piece of 1/4" MDF I purchased from Home Depot.This served as the base board for the electronics. I decided on a layout for the controls, and then using my drill press and my eyeballs I put the 24 holes for the push-buttons and then used a hand drill for the LED holes.
At this point my MDF looks like this.


I painted the front of the board a brownish color because that is what I had handy. Next time maybe it will be black, or a high gloss silver.

Then I started mounting components. I started with the push-buttons and then the LEDs. The push-buttons had nuts to hold them down, and for the LEDs I just used a touch of super-glue right at the edge and it worked great. The speaker terminals and other switches were very simple to mount. This left me with a very pretty front panel (ignore the fact that I can't measure and things are a bit crooked).

The schematic is pretty simple:

This may not sound like much but after that step my wiring was getting a little cluttered:


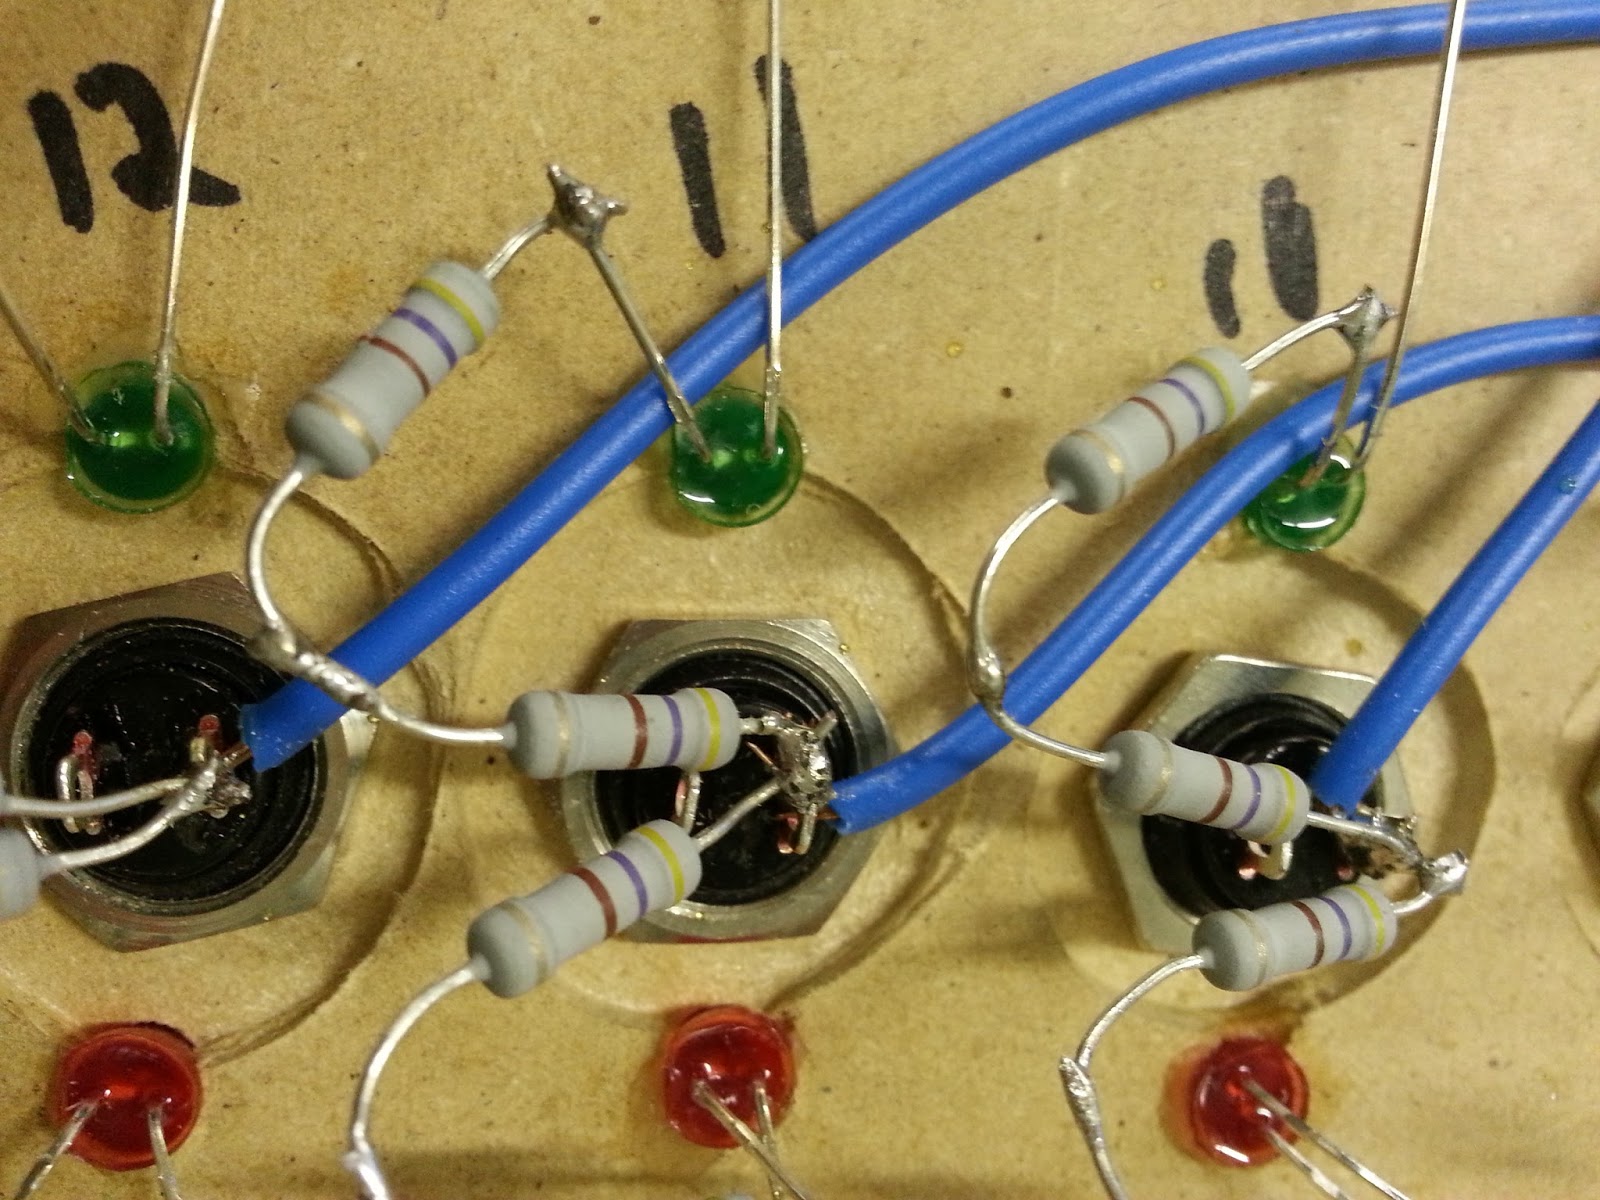

I'm not the best solderer in the world, but I was kind of proud of how well this simple design was manifesting.
I also tied in a 12v LED module into the key ignition so that we could have a little light while hooking the ignitors up, plus it adds a pretty blue glow and also serves as a "power" indicator.
At this point I needed to mount the board in the case, and hook up the battery, and I was in good shape.
Some shots of the finished prototype are below.


If you have any questions or need more information, email me. jamesbradleyharris@gmail.com
2 comments:
Looks good! I dig the LED work lights for visibility at night. Just out of curiosity, is any of this based on http://www.instructables.com/id/Fireworks-Controller/?
I did use your design as the basis for this one. I wish I had internet access at the space when I was building this, but I had to do it by memory. That was easy enough for the enclosure and what-not, but the wiring gave me some trouble from memory. I had to redraw the schematic and test it before moving forward.
Post a Comment